Description of Initial Lesson for Beginning Trumpeter
This is assuming you are working with a small group of first-time trumpeters. Adjust appropriately for one-on-one lessons. If at all possible, do not let your students take their trumpet home until they have had at least one lesson. This will prevent the formation of bad habits, and students exploring/tampering with and potentially damaging the trumpet.
- Have your students put their trumpet case on the floor with the emblem up. Demonstrate how to open the case and pick up the trumpet (I suggest grabbing the leadpipe with the right hand).
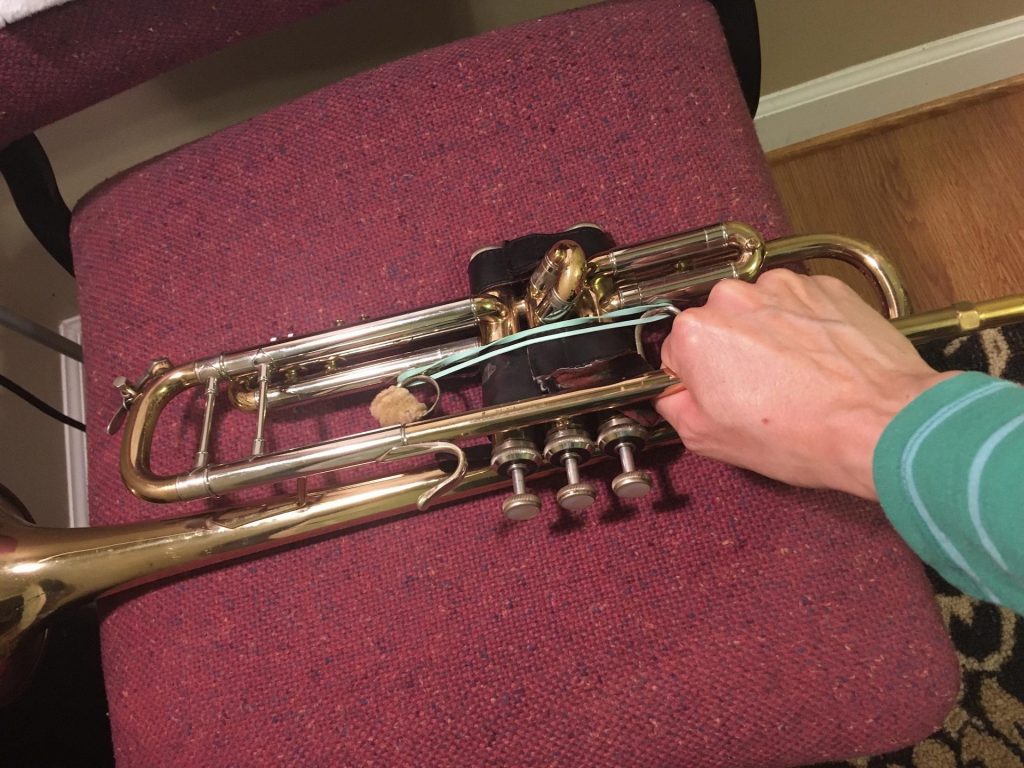
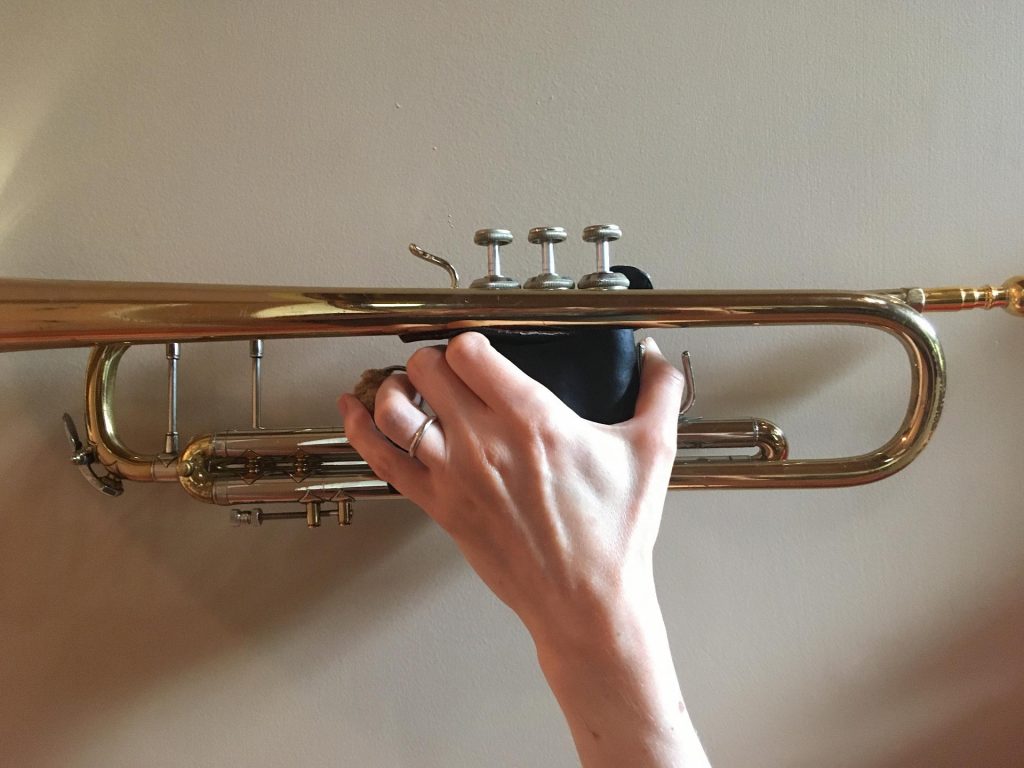
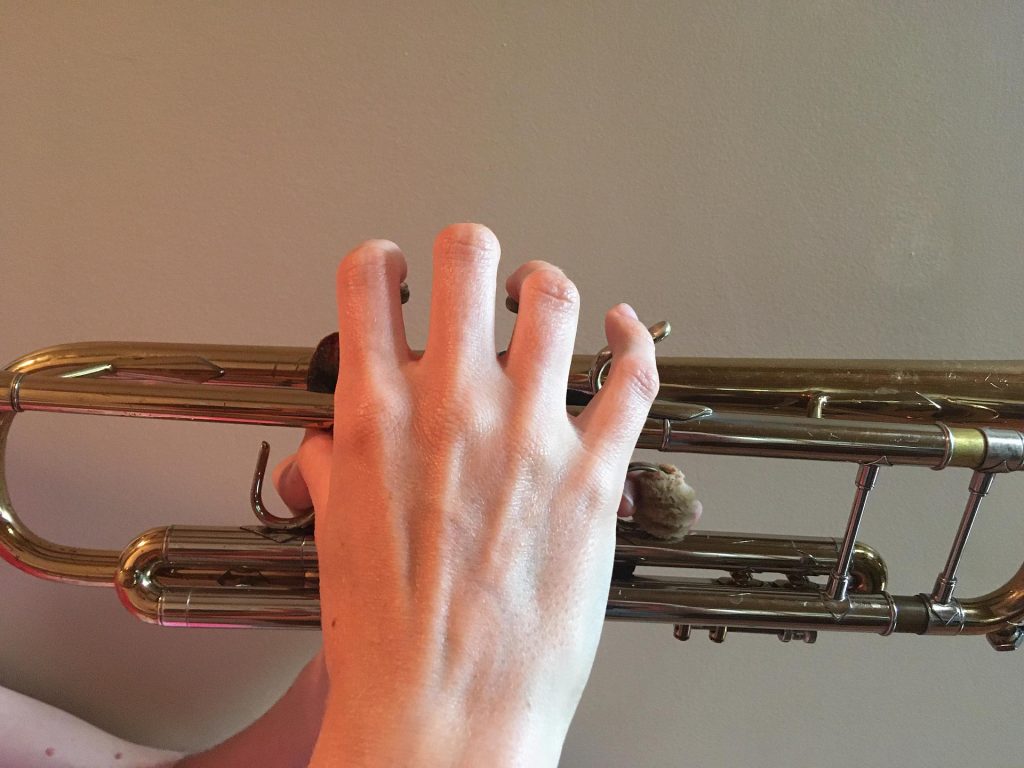
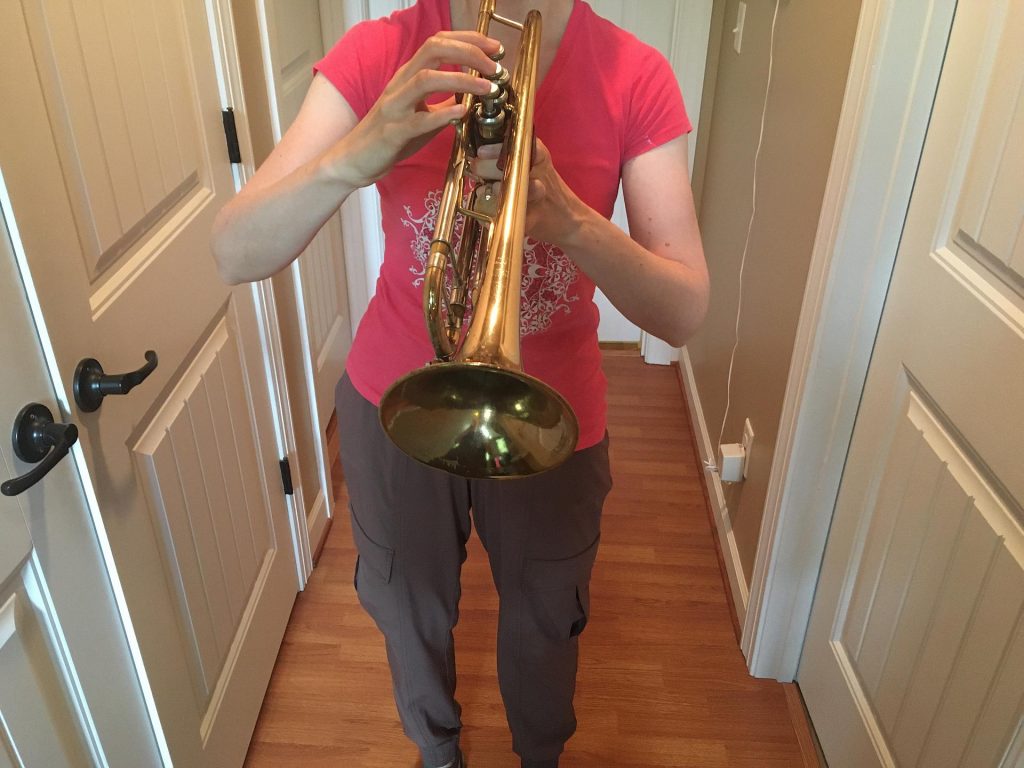
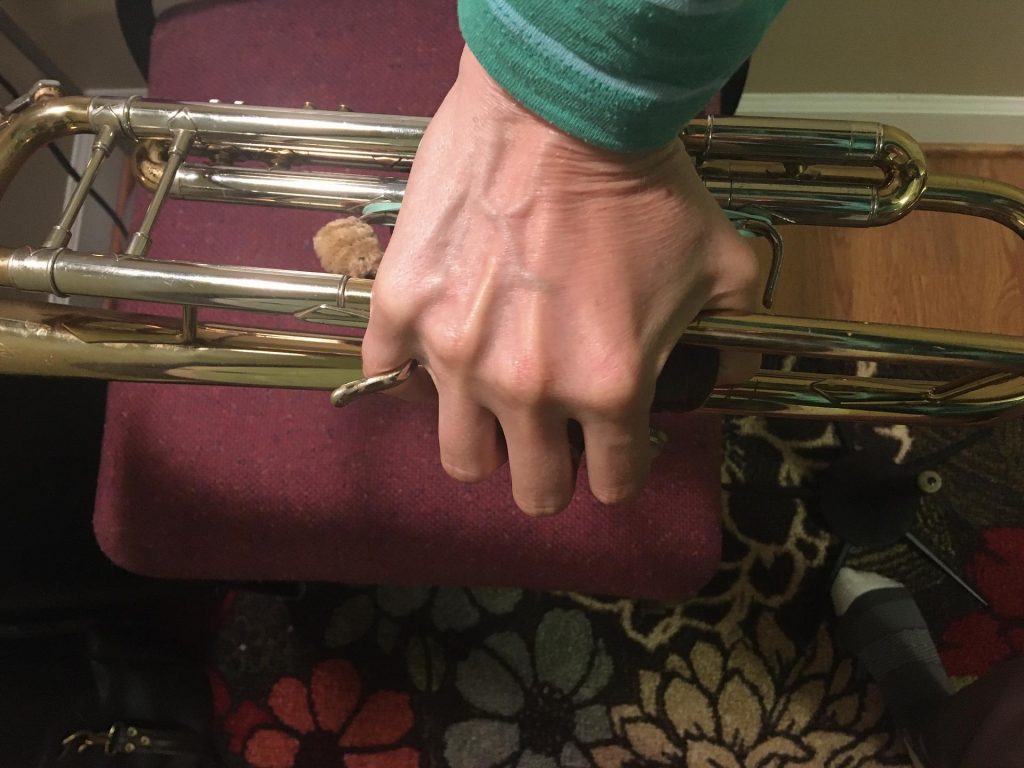
- Demonstrate holding the trumpet with the left hand with good posture, standing if possible. Wait until they have all copied you. Address differences that you see. Left hand ring finger should be in the third valve slide ring. When they have all2copied you, add the right hand and have them copy you again. Right hand should be shaped as if holding a Big Mac (idea borrowed from Walter Chesnut). Left hand holds the trumpet, right hand plays the trumpet.
- Have them press all of their valves down and remove their tuning slide, placing it gently in their open case. Remove yours too.
- Have them experiment on their own playing an open (valveless) tone. It may sound like “moo” or “cluck”. Mimic what you hear from them (you may even verbally label it “moo” or “cluck”) and have them copy you. Then play a focused tone for them with a breath attack. Play the lowest “note”. Have them copy you on your cue. Play back and forth this way for a while. Observe and acknowledge success. Address any differences you hear and guide them to adjust. Ask if anyone wants to demonstrate and assess this student individually.
- Try to make sure everyone is making a sound. If not, have them just blow air through the trumpet (or even just the mouthpiece) to get air moving through the horn. Then have them try to play again.
- Replace the tuning slide. Demonstrate a focused low C for them (breath attack) and have them copy you. Observe and acknowledge success and address any differences you hear. Ask if anyone wants to demonstrate and assess this student individually. You may want to have pinwheels to facilitate a steady air stream. Ask them to blow into the pinwheel, keeping it moving at the same speed consistently. This is like how they should blow through the trumpet. Then return to the low C and see if that made a difference.
- Teach them the first part of a C scale (C, D, E, F, G). Have them show you and tell you the note name and valve combination.
- Demonstrate a low C tongued and ask if they can tell what you did differently. Have them copy you. Do this for each note in the mini-scale. Then demonstrate playing all five notes in sequence, legato tongued, and have them copy you.
- Teach them a tune by ear, like “Mary Had a Little Lamb”.
- Show them how to put the trumpet back in the case (you can put your right-hand pinky in the pinky ring and, holding the trumpet with your right hand, put the trumpet in the case) and close the case. Have them copy you.
Encourage them to review the lesson at home every day.
Congratulations! You have given a first trumpet lesson!
Future thoughts:
Generally, the instructional sequence should be as follows:
- You demonstrate
- They copy
- You address differences
If you want to give them a little more control and freedom, you can have them try something first before demonstrating. One sequence is sometimes better than the other.
Subsequent lessons:
Have them learn several tunes by ear. The ear is the priority. Then give them a book. It doesn’t really matter which beginning book you use. Then you will show them what their sounds look like. Young students like check marks in a book that show they completed a task. Continue learning tunes. Learn them in major and then minor keys. Play them in a round. Recognize these learned concepts and skills and other mile markers you hit. Later, learn tunes in different keys. Tunes are fun to learn. This will keep them interested and develop their ear.
Cut normal drinking straws to about 6 inches in length. Practice blowing through the straw in short bursts (lips about ½ inch from straw) and making a pitch/tone. This is the proper way to produce a sound on the trumpet (exercise could be misunderstood in writing, better to demonstrate in person).
(Concepts/exercises borrowed from MWNA program designed to retrain brass players: https://musicianswellness.com/).
On lesson 3 or so, teach them how to oil their valves as follows:
- Put the trumpet between your legs with the bell facing out (having a rag underneath keeps the oil off pants).
- Unscrew the valves, and while keeping the end of the valves in the casing, drizzle some oil on the bottom section with the holes in it so it coats that whole section.
- Twist the valve up and down and back and forth until you feel the oil is well distributed.
- Reinsert the valve, making sure it is properly aligned. Usually the number on the valve should be facing you. Put the number slightly to your right and turn clockwise until it stops. Screw the valve back on. If the valve is not aligned, it will feel like there is a sock in the instrument when you try to play it!
- Repeat this process with each valve.