Purpose
The purpose of The Whiteboard Wall is to block visual distractions from students using computers and non-users from being distracted by the computers in use. The design goal is to successfully deliver a product that will improve the attentiveness of the class as a whole. This device must block visual distractions from computer users and non-users equally. The device must encourage focusing, must not be confining; and must be easily assembled and stored. The Whiteboard Wall must also be safe and durable for students to use without the worry of pinching, snagging, or cutting.
Background
Currently, at Waterville Elementary School, there are students ranging from kindergarten to fifth grade with autism or other learning disabilities. These students may become easily distracted while trying to listen to the teacher. One class, in particular, has students that become distracted by the slightest movements, such as the light from the computer monitors and movement from the students using the computers. Cases like this make the situation very difficult for the teacher, Mrs. Brown, to engage her students. The Whiteboard Wall will benefit most, if not all, of the students in her class by helping them to stay focused and on task. Other study partition designs are expensive, ranging from $400 – $1700, and may not meet the needs of these young students. The Whiteboard Wall provides features that suit the needs of the students, such as having the capability of drawing on the board with markers and allowing them to express themselves artistically and creatively. On the opposite side of The Whiteboard Wall, cork material allows the students to put up educational posters or drawings they may design themselves.
Design
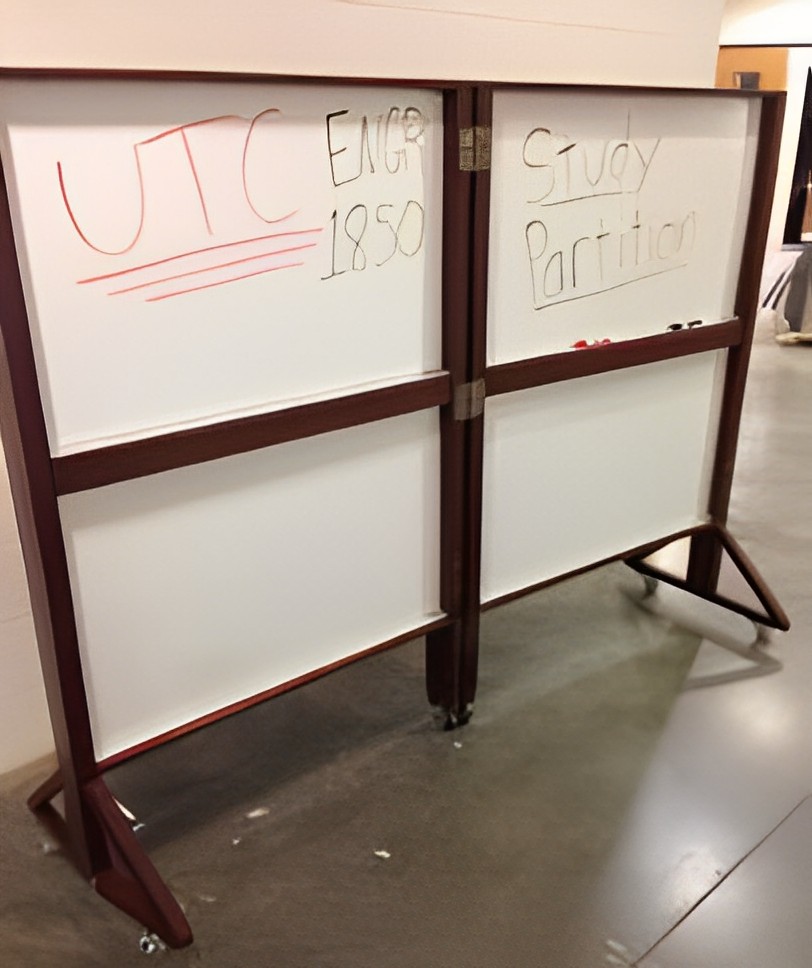
The Whiteboard Wall uses four 2”x4” wood posts, each 5’ high for the main post supports. Two 2”x2” cross beams ranging from 34” to 36” go across the horizontal axis. Four 36”x24” whiteboards cover the front side of the wall, and cork covers the rear side. The whole wall frame is stained with “American Chestnut Satin” with polyurethane mixed in to give the wall a nice shine. Top and bottom supports are 1”x4” and 1”x3” added to each side of the boards for durability. Jesse Gainer gave our group invaluable advice to add 1”x1” cross beams to ‘capture’ the whiteboards to the frame. This makes the boards not able to flex as much, leaving the wall easy to write on. Bases are added to keep the device level and sturdy for the children to play with. These bases consist of two angled 2”x2” pieces on both sides, each cut and sanded to a 45° angle. These angled brackets connect both ends of the 2”x4”s and a horizontal beam to the ground. The 2”x2” beams have a length of 22”; these beams are stained and sanded the same color as the rest of the wall. The two 2”x4”s that meet in the middle are hinged with three metal door hinges to allow the partition to fold in half while not in use. The 2”x4”s are placed equidistant from each other to allow for maximum strength. When hinged, the bases interfered with one another on the left side. Two small metal eye bolts and a small metal spring are attached to the angled base to fix this problem. This makes The Whiteboard Wall able to open and close without running into each other. The bottom of the hinged bases has a stopper to keep the sides at approximately 15° angle. This allows the bases to slide past one another with ease. Wood screws ranging from ½” to 1 ½” are used to hold the whole study partition together. Along with the screws, a heavy-duty adhesive was added to all the conjoining parts of the partition. This adds extra strength to the screws, which will make The Whiteboard Wall durable for long use. Finally, on the bottom of the bases and the two middle posts, there are wheels to provide mobility to the study partition. Each base has two on either end, and the two middle posts each have one.
Operation
The study partition can be used in many different ways. First and foremost, the main use of the system is to separate the students who are using the two computers from the rest of the class. The same goes for the students not using the computers. It is a visual blocking device in its most basic element. Another way the study partition can be used is to create a physical barrier that would enable the teacher to have full awareness of the entire class. The last way this device can be used in a positive way is to allow the students to draw creatively on the whiteboards. This would give the students a chance to help them to express themselves artistically.
The study partition is very easy to use. One can almost look at it and instantly know how to use it. The wheels have a locking mechanism to allow the device to remain stationary. The hinged axis also allows the teacher to unfold the device to its maximum width of 78’’. This device was built with this thought in mind; how easy of a setup can we provide the teacher with? The group successfully met these criteria through the use of simple designs and easy applications.